Installation
Before you can use the Nop Categories Header Menu plugin you need to install it in nopCommerce.
1. Copy the SevenSpikes.Core and the SevenSpikes.Nop.Plugins.CategoriesHeaderMenu folders into the Plugins folder of your NopCommerce installation\web site.
Note: If you are working on your local machine with the nopCommerce sources then copy them here Presentation\Nop.Web\Plugins
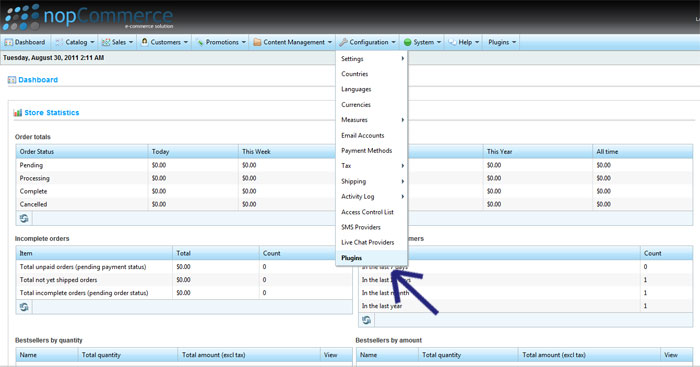
2. Go to the Admin panel of your NopCommerce web site and select Configuration -> Plugins:
3. Click on the button to the right that says "Reload list of plugins".
4. Scroll through the list of plugins to find the SevenSpikes.Core plugin and click on the Install button to install it.
Please wait till the Unistall button appears
5. Scroll through the list of plugins to find the Nop Categories Header Menu plugin and click on the Install button to install it.
Please wait till the Unistall button appears
5. Modify your Global.asax file.
Your web application should restart automatically every time you install a new plugin. However because of a known issue with MVC and nopCommerce this may not happen as expected and nopCommerce will not be able to find the url links of the Nop Categories Header Menu. In this case you need to restart your web application manually by following these instructions:
- Locate the Global.asax file, which can be found on your web site main folder or in the Presentation\Nop.Web folder if you are working with the nopCommerce sources locally.
- Modify the Global.asax file in a way as to change its Date Modified property (by putting an empty space somewhere in the file and saving it for example). Alternatively you can just upload the Global.asax file on your web site again and this should change its Date Modified property.
- Changing the Global.asax file will trigger a restart of your web application and your Nop Categories Header Menu plugin should work correctly.