Integration
Once the Nop Instant Search plugin is installed you need to integrate it in your web site. You have two options for this: Automatic or Manual.
1. Automatic Integration
If your are working of the default NopCommerce installation and the Dark Orange theme and you have not done any modifications to the layout of your nopCommerce web site, then
you can use the Automatic Integration option of the Nop Instant Search. To enable this option, from the Admin panel:
a) Go to Plugins -> Nop Ajax Cart -> Settings
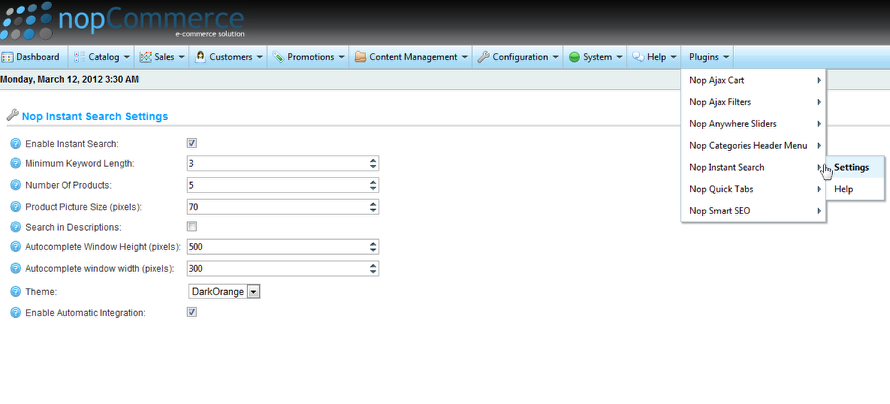
Make sure you check the Enable Automatic Integration checkbox at the bottom and then Save. Note that you also need to have the Instant Search plugin enabled, so make sure you check the Enable Instant Search checkbox too.
2. Manual Integration
If you have done modifications to your nopCommerce installation, for example you have a customized the small Search Box,
you need to integrate your Nop Instant Search manually. To integrate your Nop Instant Search manually:
a) Make sure that the Enable Automatic Integration option in the Nop Instant Search Settings is Unchecked.
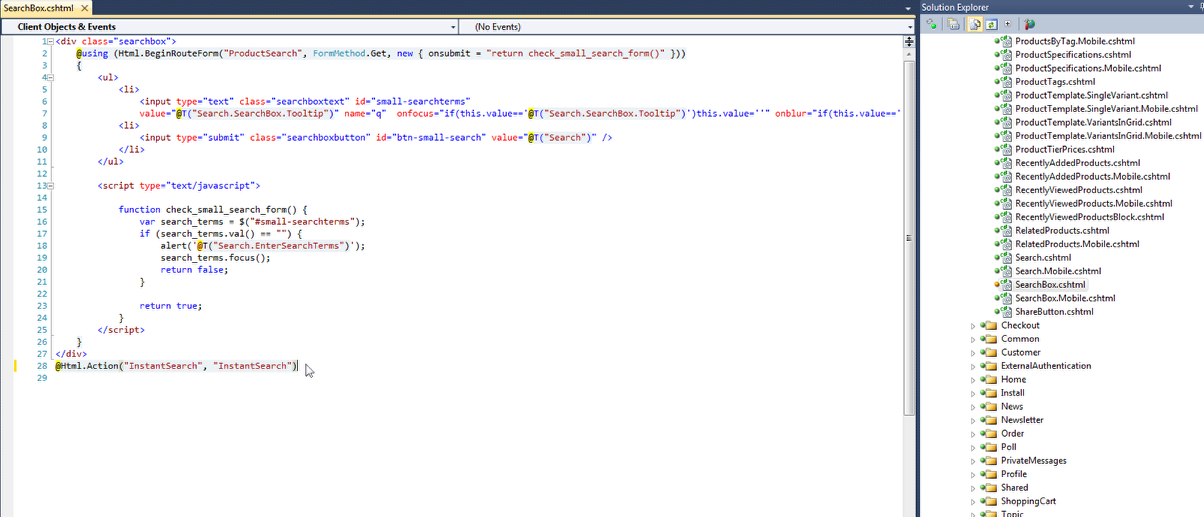
b) To integrate the plugin to the small Search Box, you need to edit the Views\Catalog\SearchBox.cshtml view.
Add the following line of code right under the closing div tag:
@Html.Action("InstantSearch", "InstantSearch")
For example:
Your Nop Instant Search plugin should now be successfully integrated.
After installing and integrating the Nop Instant Search plugin you can change the variuos settings of the Nop Instant Search by going to the Admin panel and choosing the Plugins -> Nop Instant Search -> Settings menu.